
Product Review: Denesy Caviar Manicure
Product Name: Denesy Caviar Manicure
Price: N/A, Bought from Thailand

The packaging consisted one bottle of regular nail polish and 2 containers of caviar pearl.
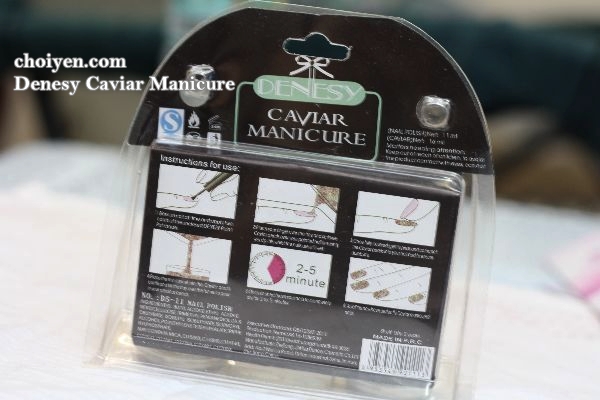
The manual.
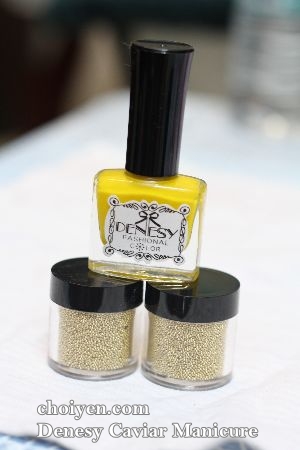
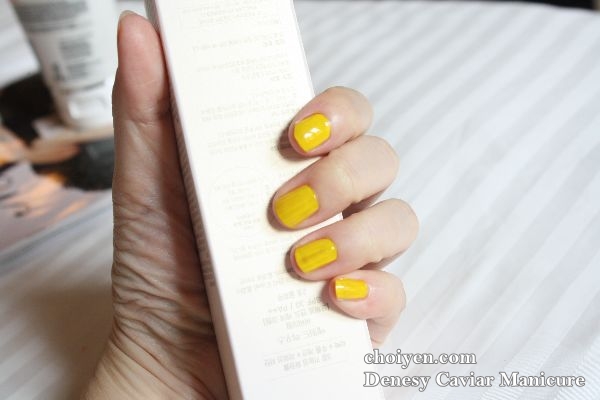
I got myself a yellow nail polish paired with golden caviar pearls.

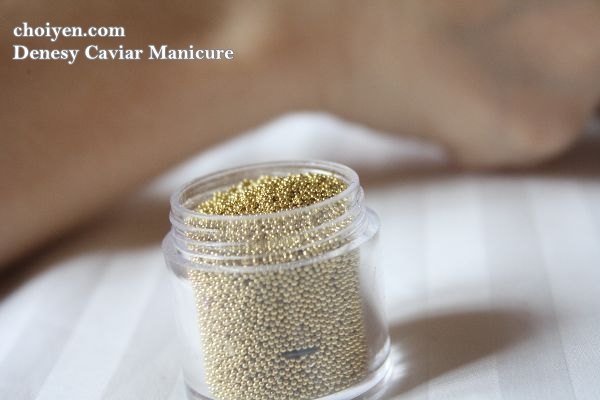
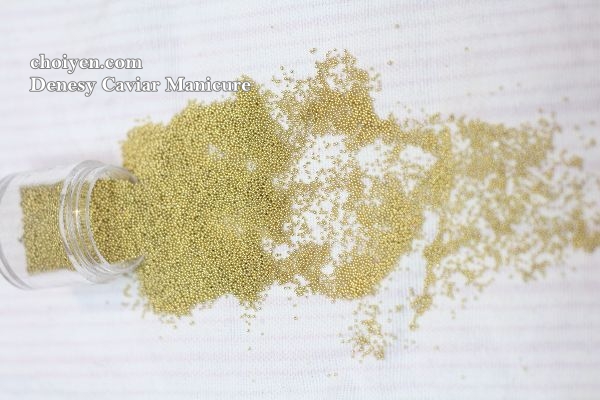
The caviar pearls are very light in weight.
How to apply?
Apply the nail polish and please prepare the caviar pearls as near as possible with you, I’ll explain WHY later 😛
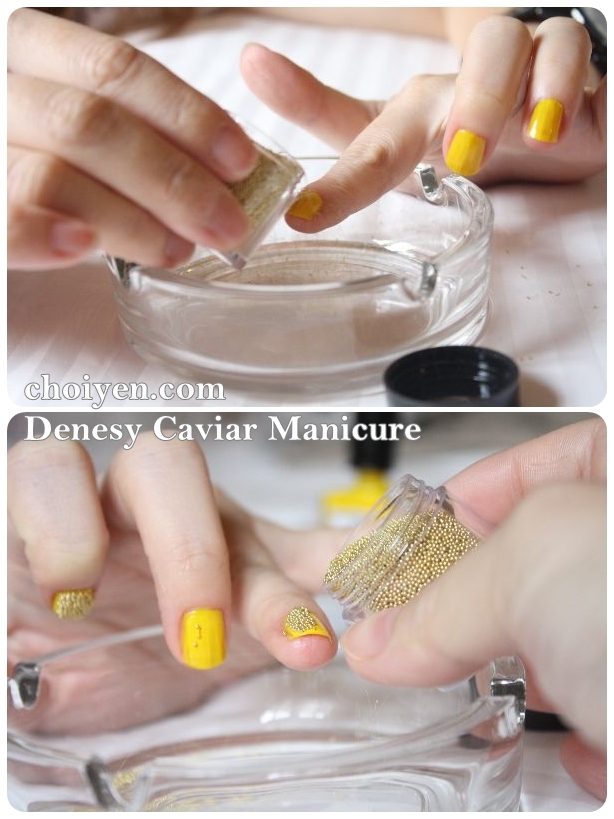
While the nail polish still in wet condition, pour the caviar pearls onto your nail and please place a tray below to hold the excessive beads. This action must be done fast as the beads need a really wet surface to stick on.

Carefully press down on each nail to ensure the caviar beads stick to the nail polish. Make sure you use a clean dry finger pad when pushing beads into the nail polish. Avoid smudging the beads across your nail.

The result ~ As you seen, the beads are stuck unevenly on nails with full and nice on index finger and sparingly on middle & ring finger.
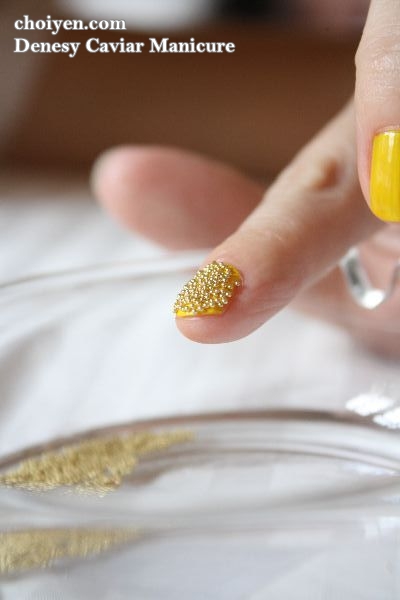
I like the 3D effect but does it stay long on my nail?

Not at all! This is how my fingers look like after 2 hours! The beads came off extremely easily although I didn’t do much work with my hands. (I only went out for lunch). Also don’t try to apply top coat on the beads as it will make the colour of the beads run and mess up the look.
Verdict: The caviar pearls will create a mess when u sprinkle them onto the nails. I think caviar nails are perfect for special events and isn’t a great everyday manicure because it just doesn’t have staying power.
Simple and nicely done;)
But cannot last long 🙁
Maybe need manicurist to do baru nice kot?
But this mean to be DIY at home mah 😛
well at least you get a different look on your nails when the caviar came off :p
holes on my nails =.=”